

Introduction
Rye sourdough bread is a delightful and healthy option for bread enthusiasts. However, understanding the rise times of rye sourdough is crucial for baking success. This article delves into the factors affecting rise times, typical durations, and common issues encountered during the process. With the right knowledge, you can master the art of baking perfect rye sourdough bread. This comprehensive guide will equip you with the insights needed to bake delicious and perfectly risen rye sourdough bread at home.
Understanding Rye Sourdough
Rye sourdough is made using rye flour, which has different properties compared to wheat flour. Rye contains less gluten, which affects the texture and rise of the dough. The unique characteristics of rye flour result in a denser, more flavorful bread. Rye flour has a higher concentration of pentosans, which absorb a lot of water, making the dough stickier and more challenging to work with.
For readers interested in maintaining a sourdough starter, check out how to keep a gluten-free sourdough starter.
Factors Affecting Rise Time
Several factors influence how long it takes for rye sourdough to rise:
- Temperature:
- Ideal temperature ranges are crucial. At room temperature (around 70°F), the rise can take 1.5 to 2 hours. In warmer conditions, the dough rises faster. For detailed guidance, you can refer to this Rustic Rye Sourdough Recipe. When the temperature is lower, the rise time increases significantly, sometimes extending to 12 hours or more in cooler climates. Maintaining a stable temperature is essential for consistent results.
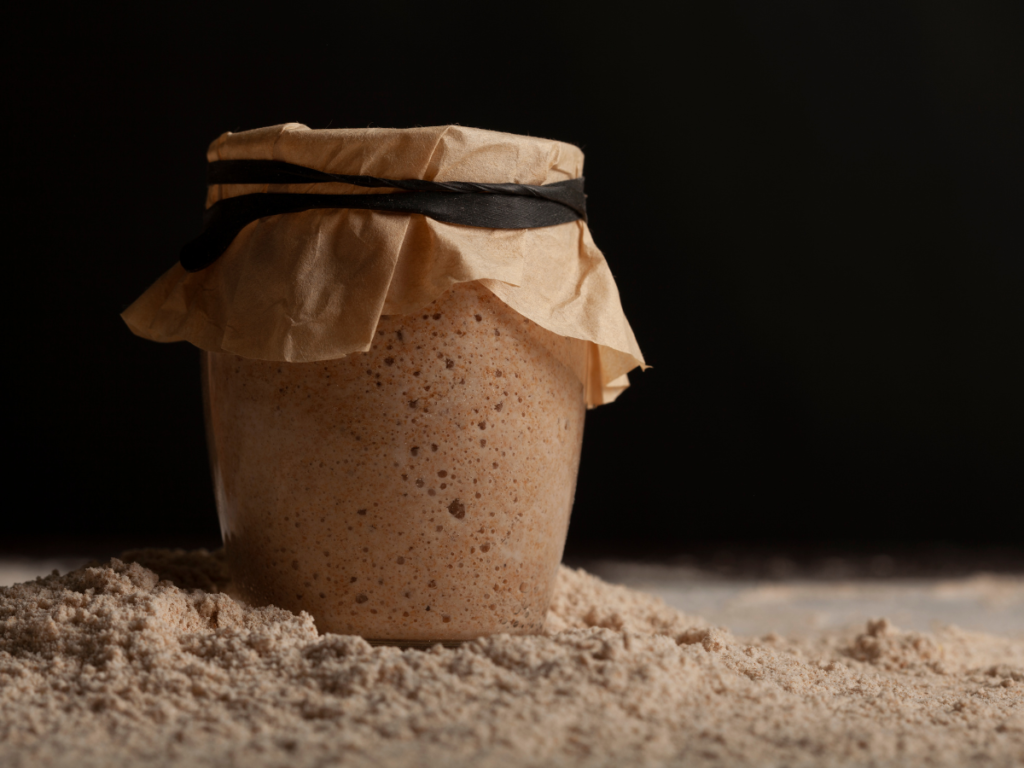
- Starter Maturity:
- The age and activity level of your sourdough starter significantly impact the rise time. A mature starter leads to a more predictable rise. Refreshing the starter regularly is vital. For instance, the Weekend Bakery recommends refreshing every three days if kept on the counter. A well-maintained starter will have a consistent activity level, leading to more reliable rise times.
- Dough Hydration:
- Higher hydration levels can speed up the fermentation process but make the dough harder to handle. Finding the right balance is key. Hydration levels typically range from 65% to 80% for rye sourdough. Higher hydration results in a more open crumb structure but requires more skill to manage.
- Mixing and Kneading:
- Proper dough handling ensures even fermentation. Effective kneading techniques help develop the dough’s structure. With rye dough, minimal kneading is often recommended due to its lower gluten content. Instead, using a stretch and fold technique can help develop the dough without overworking it.
Typical Rise Times
Understanding the typical rise times for rye sourdough is crucial for achieving the perfect loaf. The process is divided into two main stages: bulk fermentation and final proofing.
Initial Rise (Bulk Fermentation)
Bulk fermentation is the first rise after mixing the dough. This stage allows the dough to develop flavor and structure.
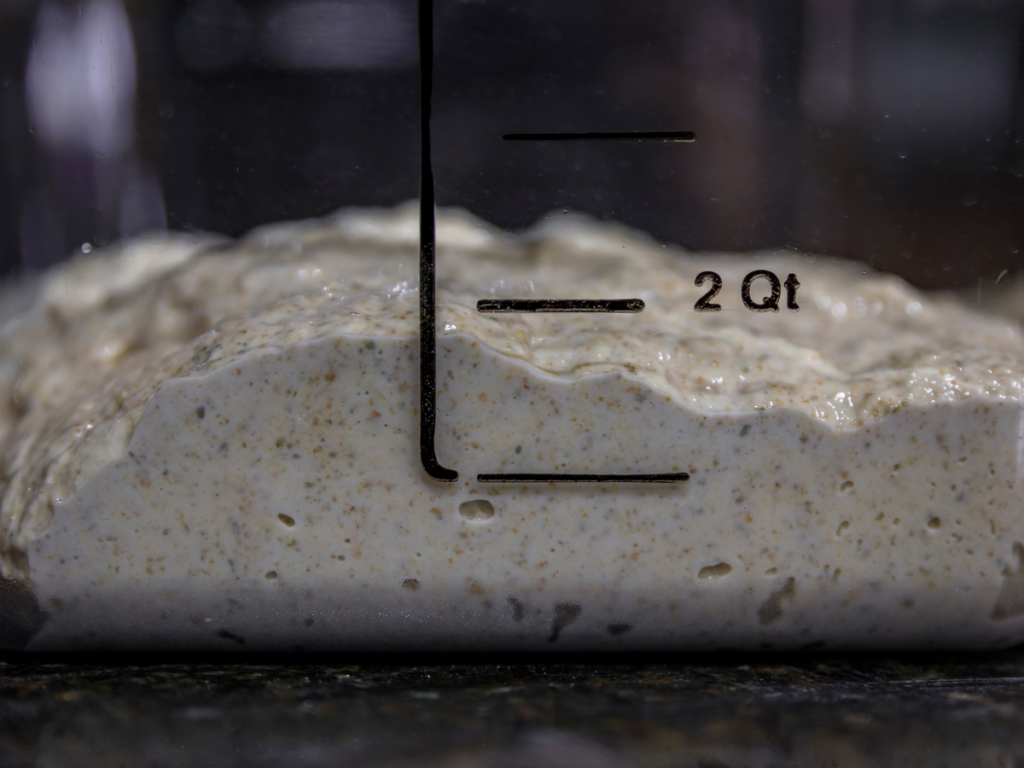
- Bulk fermentation typically takes 1 to 8 hours, depending on the conditions. At 74-76°F, it may take around 20 minutes as per the Perfect Loaf. In cooler temperatures, this can extend to several hours.
- Signs of a properly risen dough include a noticeable increase in volume and a bubbly surface. The dough should feel airy and have a slight bounce when pressed gently.
Final Rise (Proofing)
The final rise, or proofing, is the period after shaping the dough before baking.
- The final rise lasts between 1 to 1.5 hours. Creating an optimal proofing environment helps achieve the desired texture. Using a proofing box can help maintain consistent conditions.
- Over-proofing can lead to a weak dough structure, resulting in a loaf that doesn’t hold its shape well during baking. Under-proofing, on the other hand, can cause a dense crumb.
If you’re curious about the health benefits of rye sourdough, read is rye sourdough bread healthier.
Common Issues and Solutions
Baking rye sourdough can present several challenges. Understanding these common issues and their solutions can help you achieve better results.
Under-proofing
Under-proofing occurs when the dough hasn’t risen enough before baking.
- Causes: Insufficient fermentation time, low temperatures, or an inactive starter.
- Symptoms: Dense, gummy crumb and lack of oven spring.
- Solutions: Allow more time for fermentation, ensure the dough is kept at an appropriate temperature, and verify that your starter is active and bubbly.
Over-proofing
Over-proofing happens when the dough is left to rise for too long.
- Causes: Excessive fermentation time or high temperatures.
- Symptoms: Dough collapses or spreads out, producing a loaf with little structure.
- Solutions: Monitor the dough closely and avoid exceeding recommended proofing times. Adjust proofing times based on ambient temperature.
Slow Rising Dough
Slow rising can be frustrating and is often due to environmental factors or issues with the starter.
- Causes: Weak starter, low temperatures, or insufficient dough development.
- Symptoms: Dough takes much longer than expected to rise.
- Solutions: Strengthen your starter by feeding it regularly, increase the temperature slightly, and ensure thorough mixing and folding during dough preparation.
Tips for Perfect Rye Sourdough Rise
Achieving a perfect rise for your rye sourdough involves attention to detail and patience. Here are some tips to help you get the best results:
- Monitoring Dough:
- Use visual and tactile cues to determine if the dough is ready. Look for a well-risen, bubbly surface. The dough should spring back slightly when pressed gently.
- Using Proofing Boxes and Tools:
- Proofing boxes maintain a consistent temperature and humidity, facilitating an even rise. A homemade proofing box can be made using a large plastic container and a small light bulb for warmth.
- Adjusting Recipes for Your Environment:
- Customize rise times based on your local climate. In colder climates, longer fermentation is often necessary. In warmer climates, shorter fermentation times and cooler proofing environments are recommended.
To troubleshoot common issues, you might find why won’t my gluten-free sourdough bread rise helpful.
Detailed Step-by-Step Guide for Making Rye Sourdough
Ingredients
- 200g rye flour
- 300g bread flour
- 100g active rye sourdough starter
- 350ml water
- 10g salt
Instructions
- Prepare the Starter:
- Ensure your rye sourdough starter is active and bubbly. Feed it 6-12 hours before you plan to mix your dough.
- Mix the Dough:
- In a large bowl, combine the rye flour, bread flour, and water. Mix until all the flour is hydrated. Let it rest for 30 minutes (autolyse).
- Add the Starter and Salt:
- Add the active sourdough starter and salt to the dough. Mix thoroughly until combined.
- Bulk Fermentation:
- Cover the bowl and let the dough ferment at room temperature. Perform stretch and fold every 30 minutes for the first 2 hours. Let it rest until it has doubled in size.
- Shape the Dough:
- Turn the dough out onto a lightly floured surface. Shape it into a round or oval loaf. Place the shaped dough into a proofing basket lined with a floured cloth.
- Final Proof:
- Let the dough rise at room temperature for 1-2 hours or until it has risen noticeably. Alternatively, you can refrigerate the dough for a longer, slower proof (up to 12 hours).
- Preheat the Oven:
- Preheat your oven to 475°F (245°C) with a Dutch oven inside.
- Score and Bake:
- Carefully transfer the dough to a piece of parchment paper. Score the top with a sharp knife or lame. Place the dough (with parchment paper) into the preheated Dutch oven. Cover and bake for 20 minutes. Remove the lid and bake for an additional 25-30 minutes or until the crust is deep golden brown.
- Cool:
- Let the bread cool completely on a wire rack before slicing.
For more on the differences between types of sourdough, see what is the difference between rye sourdough and regular sourdough.
Conclusion
Mastering the rise times of rye sourdough requires patience and practice. By understanding the factors involved and making necessary adjustments, you can bake delicious and perfectly risen rye sourdough bread. Happy baking!
FAQs
Does rye sourdough take longer to rise?
Yes, rye sourdough typically takes longer to rise compared to white or whole wheat sourdough. Rye flour has less gluten, which affects the dough’s elasticity and structure, resulting in a slower rise.
Why is my rye bread not rising?
There are several reasons why rye bread might not rise:
- Inactive Starter: If your sourdough starter isn’t fully active, it won’t provide the necessary leavening.
- Temperature: Bread dough rises slower in cooler temperatures. Ensure your dough is kept in a warm environment.
- Hydration: Too much or too little water can affect the rise. Ensure the dough has the correct hydration level.
- Kneading: Insufficient kneading can lead to poor gluten development, affecting the rise.
Why is my rye sourdough starter not rising?
If your rye sourdough starter isn’t rising, consider the following:
- Feeding Schedule: Ensure you are feeding your starter regularly with fresh rye flour and water.
- Temperature: Maintain a warm, consistent temperature to encourage yeast activity.
- Flour Quality: Use high-quality, whole-grain rye flour to provide adequate nutrients for the yeast.
- Time: Sometimes, starters need more time to become fully active, especially when first establishing.
How long should I wait for my sourdough to rise?
The rising time for sourdough varies, but generally:
- Bulk Fermentation: This initial rise can take 3-6 hours at room temperature, depending on the ambient temperature and the activity level of your starter.
- Final Proof: After shaping, the final proof usually takes 2-4 hours at room temperature or can be retarded overnight in the refrigerator for 8-12 hours for enhanced flavor and texture.